Equipment
Ingredients
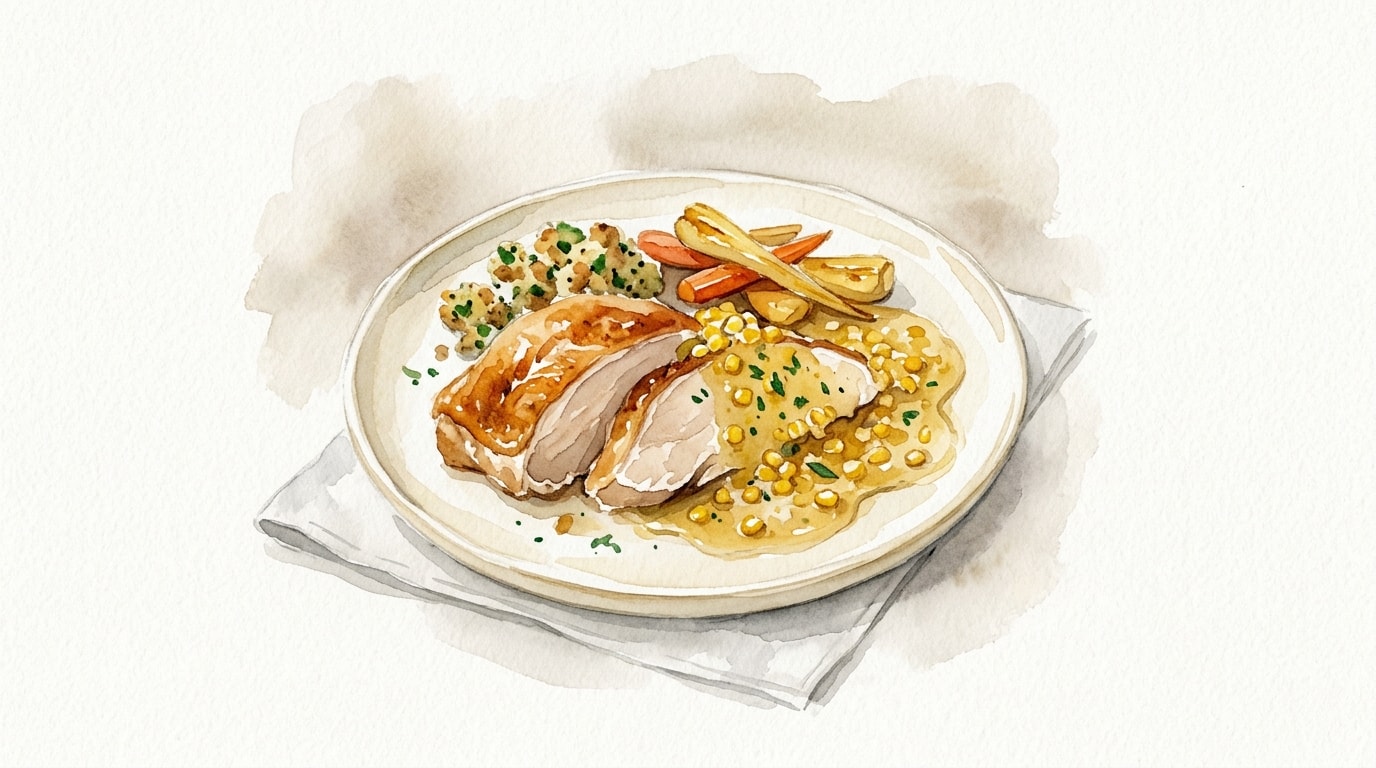
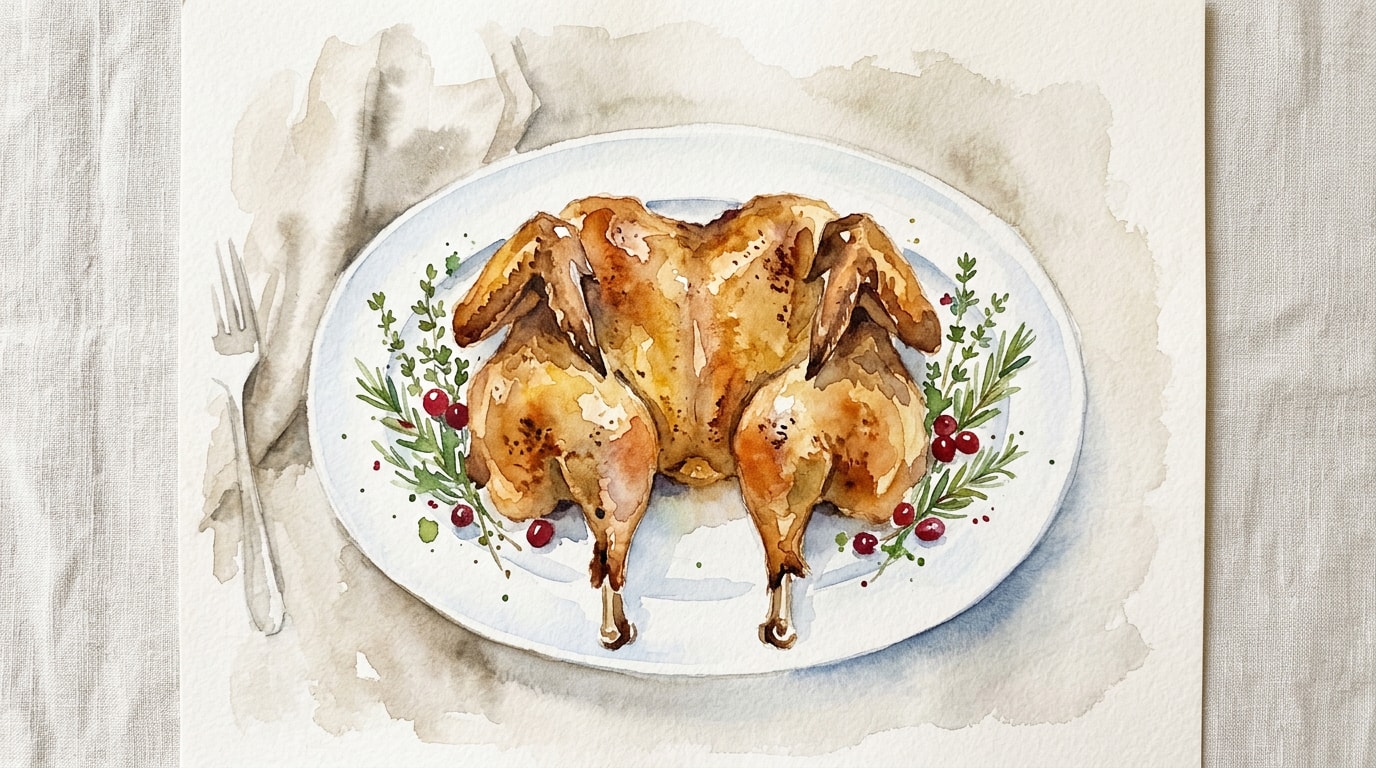
Poultry
- 5000 g whole turkey, thawed completely, giblets removed
Compound Butter Seasoning
- 115 g unsalted butter, softened to room temperature
- 45 g kosher salt
- 10 g black pepper, freshly ground
- 15 g fresh sage, finely chopped
Nutrition (per serving)
Method
Preheat the oven to 230 C / 450 F. Adjust the oven rack to the lower-middle position to ensure the turkey has enough clearance.
Place the turkey breast-side down on a cutting board. Using poultry shears, cut along both sides of the backbone to remove it. Turn the turkey over. Slice through the skin and pop the hip joints to completely separate the whole legs (drumstick and thigh connected) from the breast crown. Wash your hands and thoroughly sanitize the cutting board, shears, and surrounding area after handling the raw poultry to prevent cross-contamination.
Thoroughly dry the turkey breast crown and the separated legs inside and out using paper towels. A dry surface is essential for achieving crispy skin.
In a small bowl, combine the softened butter, kosher salt, black pepper, and chopped fresh sage. Mix vigorously until the ingredients form a uniform compound butter.
Carefully loosen the skin covering the breast meat with your fingers. Rub about half of the compound butter directly onto the meat under the skin. Rub the remaining butter evenly over the outside skin of the breast crown and the separated legs.
Place a wire rack inside a large roasting pan. Arrange the breast crown in the center of the rack. Position the separated legs around the edges of the pan, with the skin side facing up.
Roast in the preheated oven at 230 C / 450 F for approximately 60 to 75 minutes. Begin checking the internal temperature with a meat thermometer at the 55-minute mark. Remove pieces individually as they finish: the breast is ready when the thickest part reaches 74 C / 165 F, and the legs are ready when the thigh meat registers at least 79 C / 175 F.
Transfer the cooked breast crown and legs to a clean cutting board. Let the meat rest uncovered for at least 20 minutes before carving to allow the juices to redistribute throughout the muscle fibers.
Chef's Notes
- Separating the legs from the breast crown allows you to remove the breast exactly when it reaches its ideal temperature, while leaving the dark meat in the oven longer to properly break down its tougher connective tissues.
- For even better results, perform the buttering and seasoning step a full 24 hours in advance. Leave the seasoned pieces uncovered on a wire rack in the refrigerator. This dry-brining process pulls moisture from the skin, guaranteeing an incredibly crispy exterior.
- Because this high-heat method generates significant fat drippings that can smoke, layering root vegetables like potatoes and carrots beneath the wire rack is a fantastic way to absorb the fat while simultaneously creating a rich side dish.
Storage
Refrigerator: 4 days — Store carved meat in an airtight container. Keep the carcass for stock.
Freezer: 3 months — Freeze meat off the bone in broth or vacuum-sealed bags to prevent freezer burn.
Reheating: Reheat gently in a 150 C oven covered with foil and a splash of broth to retain moisture.