Equipment
* optional
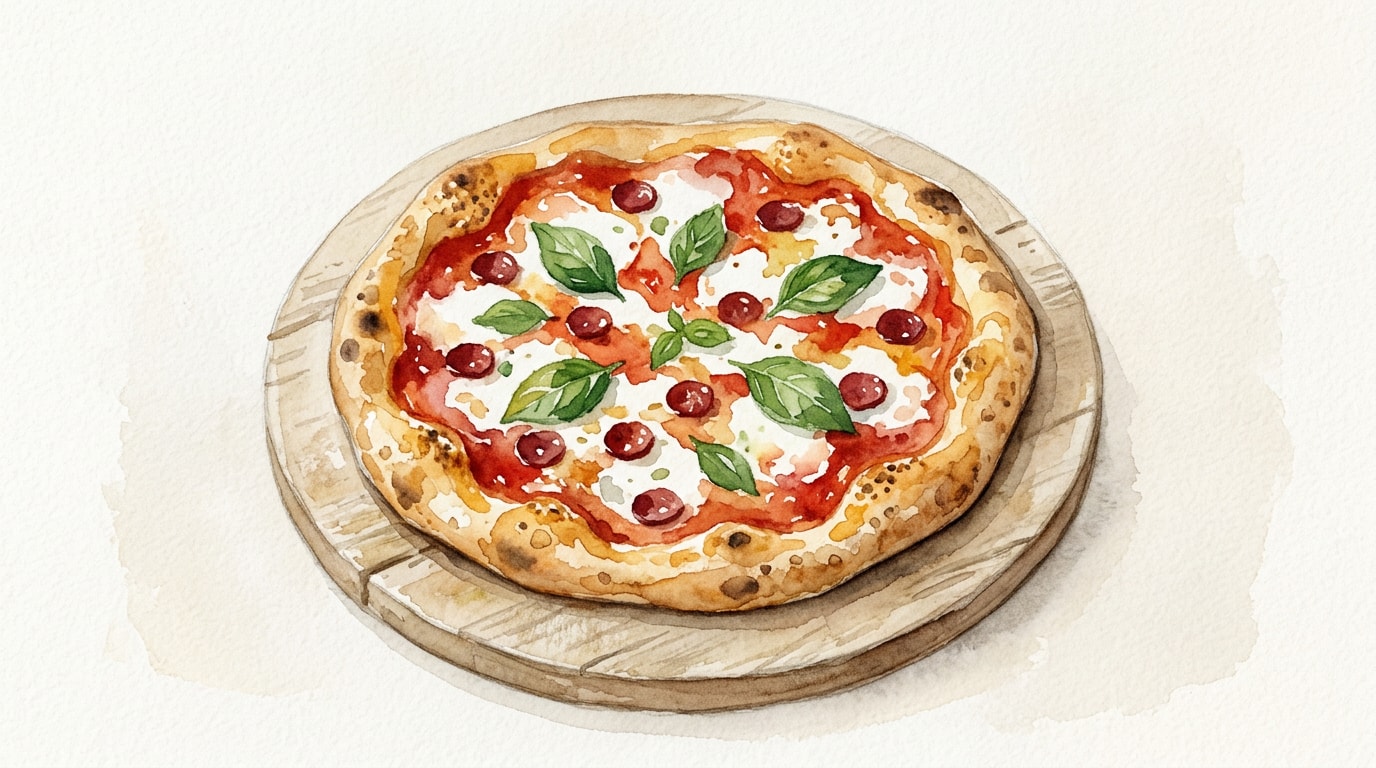
Ingredients
Yeast Activation
- 325 ml warm water
- 5 g active dry yeast
- 5 g granulated sugar
Dry Ingredients & Fat
- 500 g bread flour
- 10 g fine sea salt
- 15 ml extra virgin olive oil
Nutrition (per serving)
Method
Combine the warm water (around 35°C/95°F), active dry yeast, and granulated sugar in a large mixing bowl. Let sit for 10 minutes until the mixture is frothy and bubbly on the surface.
Add the bread flour, fine sea salt, and extra virgin olive oil to the yeast mixture. Stir with a wooden spoon or your hands until the liquid is absorbed and a shaggy, cohesive dough forms.
Turn the dough out onto a clean, lightly floured work surface. Knead continuously for 10 minutes, pushing the dough away with the heel of your hand and pulling it back over itself, until the dough becomes smooth, elastic, and slightly tacky but not strictly sticky.
Form the kneaded dough into a tight ball. Place it in a lightly oiled bowl, turning it once to coat the entire surface in oil. Cover the bowl tightly with plastic wrap or a damp kitchen towel to prevent a crust from forming, and let it rise in a warm spot for 2 hours.
Gently punch down the dough to release excess gas. Turn it out onto your work surface and divide it into two equal portions using a bench scraper or heavy knife. Shape each portion into a tight, round ball by tucking the edges underneath.
Cover the shaped dough balls loosely with a towel or plastic wrap and let them rest at room temperature for 30 minutes. This critical rest period relaxes the gluten network, allowing you to stretch the dough for baking without it tearing or snapping back.
Chef's Notes
- For superior flavor complexity and blistering on the crust, transfer the covered bowl to the refrigerator immediately after the initial kneading step. Allow the dough to cold-ferment for 24 to 72 hours before dividing and shaping.
- Bread flour yields a chewier crust with more structure due to its higher protein content (typically 12-14 percent), but standard all-purpose flour works perfectly well if you prefer a slightly tenderer bite.
- Always check gluten development using the windowpane test: Pinch off a small piece of kneaded dough and stretch it gently between your fingers. If it stretches thin enough to let light pass through without tearing, the gluten is fully developed.
Storage
Refrigerator: 3 days — Cold fermentation improves flavor development. Let refrigerated dough rest at room temperature for 2 hours before stretching.
Freezer: 3 months — Lightly coat individual dough balls with oil, wrap tightly in plastic wrap, and freeze. Thaw overnight in the refrigerator.