Equipment
Ingredients
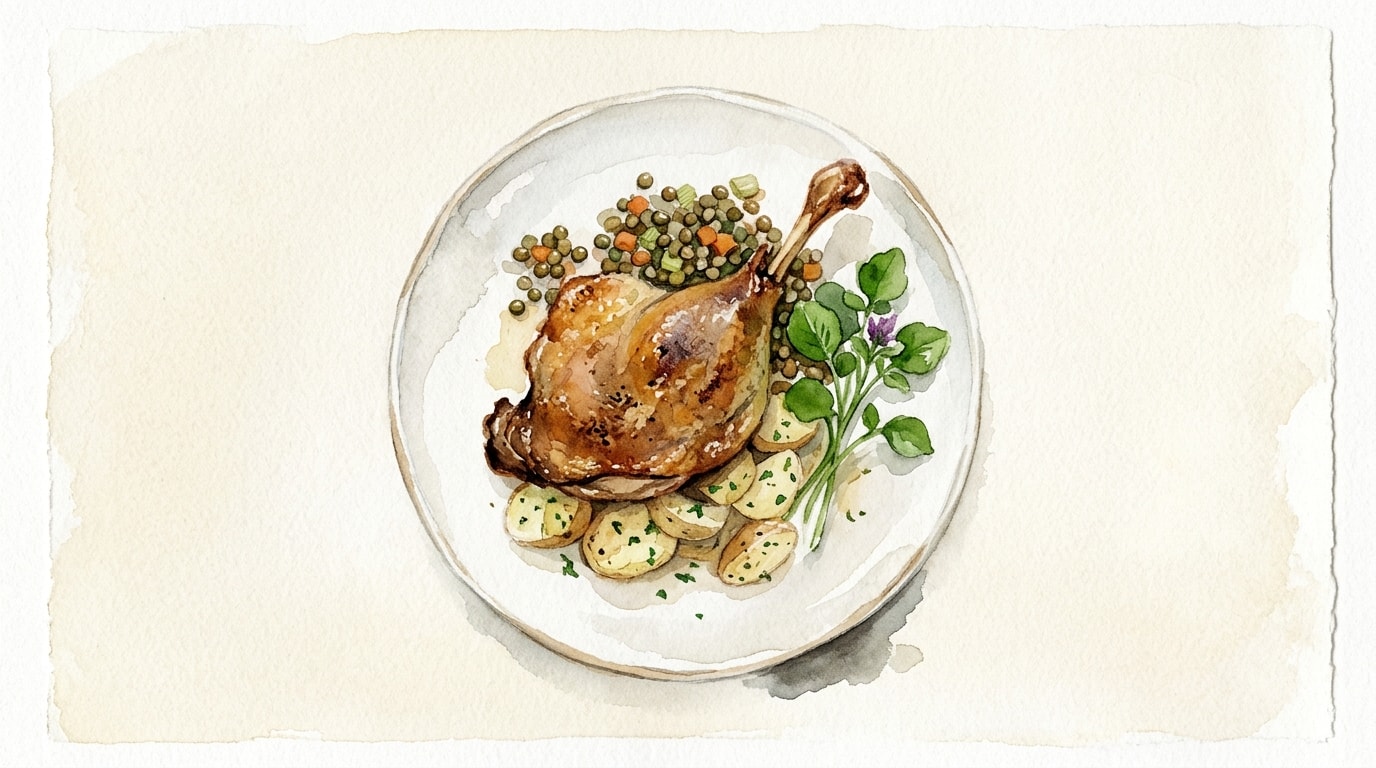
The Duck and Cure
- 4 duck legs
- 4 duck wings
- 45 g coarse sea salt
- 4 garlic cloves, crushed
- 10 fresh thyme sprigs
- 3 bay leaves, crushed
- 5 g black peppercorns, crushed
The Cooking Medium
- 1000 g rendered duck fat, melted
Nutrition (per serving)
Method
In a small mixing bowl, combine the coarse sea salt, crushed garlic cloves, fresh thyme sprigs, crushed bay leaves, and crushed black peppercorns.
Prick the skin of the duck legs and duck wings all over with a needle or the tip of a sharp knife to help render the fat. Rub the salt mixture evenly over all sides of the duck pieces.
Place the seasoned duck in the non-reactive glass or ceramic baking dish. Cover tightly and refrigerate to cure for 24 hours.
Remove the duck from the refrigerator. Rinse the duck pieces thoroughly under cold water to remove all the salt and aromatics. Wash hands and sanitize the sink after handling the raw meat to prevent cross-contamination. Pat completely dry with paper towels. Ensure all moisture is removed to prevent splattering in hot fat.
Preheat the oven to 110°C or 225°F.
In a heavy-bottomed Dutch oven, slowly melt the rendered duck fat over low heat until it reaches a gentle simmer between 90°C and 100°C, or 195°F and 210°F.
Carefully submerge the dried duck legs and wings into the melted fat using tongs, ensuring they are completely covered. Bring the fat back to a very gentle simmer.
Transfer the Dutch oven to the preheated oven. Cook uncovered for 2.5 to 3 hours, or until the meat is extremely tender and easily pulls away from the bone. Ensure the internal temperature of the duck reaches at least 74°C or 165°F for food safety.
Remove the pot from the oven. Allow the duck to cool in the fat for 1 hour at room temperature to allow the meat to relax and absorb moisture.
Using tongs, carefully transfer the warm duck pieces to a clean airtight storage container. Strain the warm duck fat through a fine mesh strainer over the duck pieces until they are completely submerged. Refrigerate until the fat solidifies to preserve.
Chef's Notes
- Pricking the duck skin before curing is an essential technique. It provides clear channels for the curing salt to penetrate the meat and allows subcutaneous fat to render efficiently into the pot during the slow cook.
- The curing time directly dictates the final saltiness. While 24 hours is standard for deep preservation flavor, you can reduce this to 12 to 18 hours if you plan to eat the confit within a few days.
- Always ensure your duck pieces are perfectly dry before submerging them in the hot fat. Residual water droplets will cause violent splattering and can spoil the purity of your preservation medium.
- After straining the used duck fat, allow it to settle in the refrigerator. Any residual meat juices will sink to the bottom and form a dark gelatin layer. Scrape off the pure white fat for long-term storage, and use the savory duck jelly to enrich pan sauces.
Storage
Refrigerator: 1 month — Must be completely submerged in filtered, solidified duck fat.
Freezer: 6 months — Vacuum sealed or well wrapped without the thick layer of fat.
Reheating: Scrape off excess fat, pan-fry skin side down over medium heat until crispy and warmed through.