Equipment
Ingredients
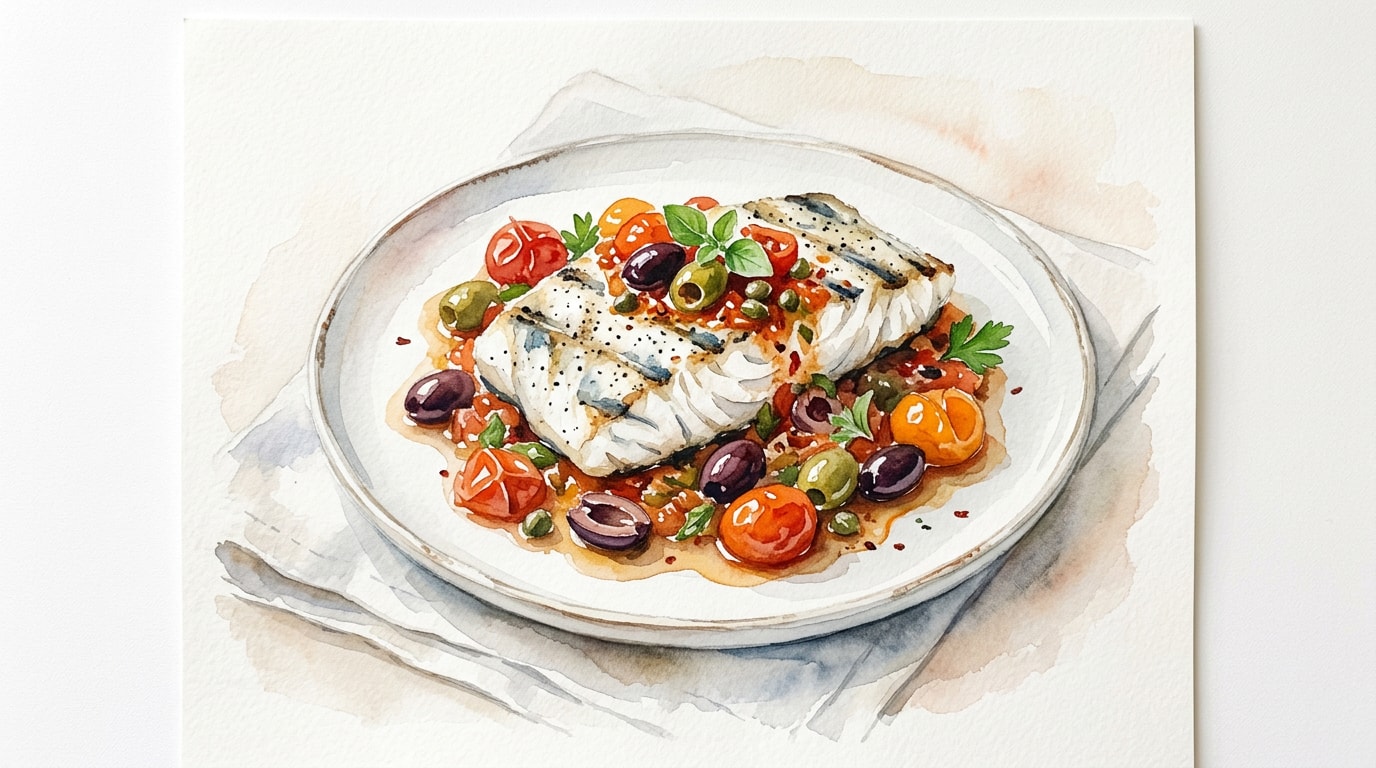
Halibut
- 600 g halibut fillets, skinless, divided into 4 portions
- 30 ml extra virgin olive oil
- 5 g kosher salt
- 2 g black pepper, freshly ground
Robust Tomato Olive Sauce
- 30 ml extra virgin olive oil
- 15 g garlic, minced
- 10 g anchovy fillets, minced
- 1 g red pepper flakes
- 300 g cherry tomatoes, halved
- 80 g kalamata olives, pitted and halved
- 20 g capers, drained and rinsed
- 15 ml lemon juice, freshly squeezed
- 10 g fresh basil, torn
Nutrition (per serving)
Method
Pat the halibut fillets completely dry with paper towels. Brush both sides of the fish with the extra virgin olive oil and season evenly with kosher salt and black pepper. Set aside at room temperature while you prepare the sauce.
Heat the extra virgin olive oil for the sauce in a medium skillet over medium heat. Add the minced garlic, anchovy fillets, and red pepper flakes. Cook, stirring constantly, until the garlic is fragrant and the anchovies have melted into the oil.
Add the halved cherry tomatoes to the skillet. Cook, stirring occasionally, until the tomatoes begin to soften, blister, and release their juices into the oil.
Stir the halved Kalamata olives and capers into the tomato mixture. Reduce the heat to low and let the sauce simmer for another 2 minutes to meld the flavors. Remove from heat, stir in the lemon juice and torn basil, and cover to keep warm.
Preheat your outdoor grill or a cast iron grill pan to medium-high heat. Carefully oil the grates using a paper towel dipped in high-heat cooking oil held by tongs.
Place the seasoned halibut fillets onto the hot grill. Cook undisturbed until the bottom is golden brown, nicely charred, and the fish releases easily from the grates.
Carefully slide a fish spatula under the fillets and flip them. Continue grilling until the internal temperature reaches 54 C / 130 F for medium doneness, and the flesh flakes easily with a fork.
Transfer the grilled halibut to individual plates or a serving platter. Spoon the warm tomato, olive, and anchovy sauce generously over and around the fish. Serve immediately.
Chef's Notes
- The anchovies should essentially dissolve into the oil during the initial saute step, providing an invisible background umami rather than a distinct fishy flavor.
- When grilling fish, patience is key. If you feel resistance when trying to flip the fillet, leave it for another 30 to 60 seconds so the crust can fully form and detach.
- Halibut is a lean fish, which means the margin for error when cooking is small. Use an instant-read thermometer to guarantee perfectly moist, flaky results.
- For an extra layer of flavor, try charring half of the cherry tomatoes in a dry cast iron skillet before adding them to the sauce for a deeper smoky profile.
- Make sure to thoroughly rinse your capers before adding them to the pan. Capers packed in salt or heavy brine can easily push this delicate sauce over the edge into unpalatable saltiness.
Storage
Refrigerator: 2 days — Store fish and sauce in separate airtight containers to prevent the fish from becoming soggy.
Reheating: Reheat the sauce in a saucepan over medium heat until bubbling. Gently warm the halibut in a 135 C / 275 F oven until just warmed through to prevent overcooking.