Equipment
* optional
Ingredients
Cultured Cream
- 946 ml heavy cream
- 60 ml cultured buttermilk
Washing and Finishing
- 1000 ml water, ice cold
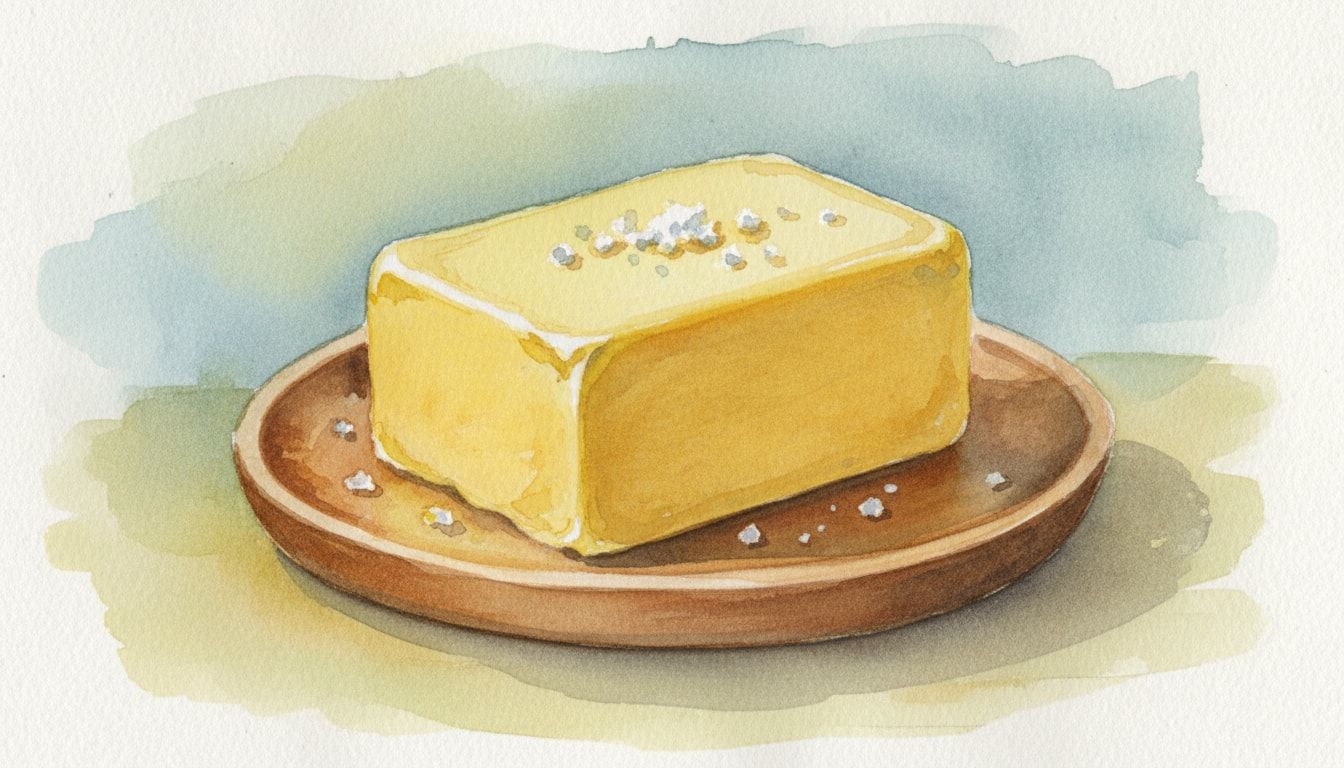
- 6 g flaky sea salt
Nutrition (per serving)
Method
Combine the heavy cream and cultured buttermilk in a clean, sanitized glass jar. Stir gently to distribute the cultures evenly.
Cover the jar loosely with a breathable cloth or a lightly placed lid. Let it rest at room temperature, ideally 21°C to 24°C (70°F to 75°F), for 24 hours. The cream will noticeably thicken and develop a tangy, acidic aroma.
Transfer the thickened cultured cream to the refrigerator to chill for at least 2 hours. The ideal churning temperature is 12°C to 14°C (54°F to 57°F).
Pour the chilled cultured cream into the bowl of a stand mixer fitted with a whisk attachment. Whip on medium-high speed. The mixture will first become whipped cream, then turn grainy, and finally break, suddenly separating into distinct yellow butter solids and liquid buttermilk. Cover the mixer with a towel during the final stages to prevent splashing.
Carefully pour the contents of the mixing bowl through a fine mesh sieve placed over a bowl. Allow the liquid buttermilk to drain completely. Reserve this highly flavorful traditional buttermilk for baking, marinades, or drinking.
Transfer the solid butter grains to a clean bowl. Pour about 200ml of ice-cold water over the butter. Using wooden paddles or a silicone spatula, press, fold, and knead the butter repeatedly against the sides of the bowl. The water will turn cloudy. Drain the cloudy water and add fresh ice water. Repeat this process 3 to 5 times until the water remains crystal clear.
Once washed, press and knead the butter a few more times without water to expel any trapped moisture droplets. Sprinkle the flaky sea salt evenly over the butter and fold it multiple times to ensure the salt is thoroughly incorporated.
Transfer the salted butter onto a sheet of parchment paper. Shape it into a neat block or roll it into a tight log using the paper. Chill in the refrigerator for at least 1 hour to set its final structure before serving.
Chef's Notes
- Sourcing the correct cream is paramount. Ultra-pasteurized cream undergoes high heat treatment that denatures proteins and prevents proper separation. Look for locally sourced, gently pasteurized cream with a high fat content.
- Temperature control is the secret to great butter. Churning cream that is too warm results in greasy butter that traps moisture, while cream that is too cold will take an excessively long time to break. Aiming for exactly 12°C to 14°C guarantees perfect, distinct grains.
- Do not discard the liquid byproduct. Authentic, traditional buttermilk is entirely different from the cultured low-fat milk sold in modern supermarkets. It is exceptionally rich in flavor and acts as an incredible tenderizer in baked goods like biscuits or pancakes.
- Washing the butter is the most critical step for shelf life. Any trapped buttermilk will sour rapidly. The water must be ice cold to prevent melting the butter while you mechanically squeeze out the remaining milk proteins.
Storage
Refrigerator: 3 weeks — Wrap tightly in parchment paper, then store in an airtight container to prevent absorbing refrigerator odors.
Freezer: 6 months — Wrap securely in parchment paper and place in a freezer-safe bag. Thaw overnight in the refrigerator before use.